No Rules. Just Art.
No Rules. Just Art.


Quality brushes are an investment in your passion and creativity. Following these 10 TLC tips will help to keep your brushes in top condition and maximize their performance in your hand.
1. When loading, using or cleaning your brushes, always think about moving the hairs in their natural direction. Unless the brush shape is designed for it, avoid scrubbing motions or hard pouncing (particularly with pointed brushes) or you may just have to accept that your brushes will wear quickly.


2. Never allow paint to dry on your brush. Dry paint (oil and acrylic) is the enemy of performance, and it probably takes less time than you expect for paint to dry in your brush. Make sure your brushes stay pliable during your painting session. Painting containers, like KINGART Brush Basin, can help to keep brushes from drying out.


3. Try to keep wet paint from reaching up into the ferrule of the brush. Paint in the ferrule is more difficult to clean and once dry will cause the brush to swell out of shape.


4. Do not allow brush heads to rest on the bottom of your water container or other holders, like those used to transport or store brushes. This is a surefire way to misshape a brush.


5. While painting, do not leave your brushes in liquid that rises above the back end of the ferrule. Moisture that soaks into the wood handle will cause the handle paint to chip and peel as well as result in loose ferrules/brush heads.


6. Always use the most, mild cleaner designed for your paint and bristles. Many cleaners that break down oil-based products may also break down and cause your synthetic brushes to become brittle as these hairs are an oil (petroleum) based product too.

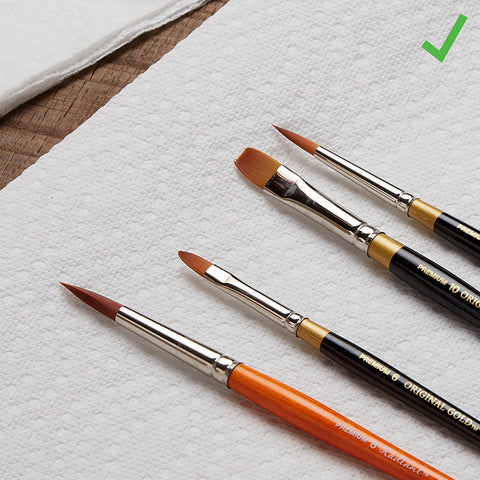
7. Clean your brushes immediately and thoroughly at the end of your painting session. An easy way to make sure you’ve removed all paint is to blot your brush (all the way to the ferrule) on a clean paper towel. If any color shows on your towel you need to repeat the cleaning process.

8. Wipe the handle of your brushes dry after cleaning. Again, moisture seeping into the wood handles is a common cause of loose ferrules.

9. After cleaning, lay brushes flat to dry or ideally suspended by their handles. Only after they are dry should you store them handle side down.

10. If you paint infrequently or plan to take an extended break, you may want to take a tiny bit of soap or conditioner and use it to re-shape each brush before storing. This is also good if you will be transporting brushes. Whether it is a liner with a very pointed tip or a flat with a sharp chisel edge, the soap will act similar to the original sizing and can simply be rinsed out before your next painting session.

Bonus Tip: Chances are you will (accidentally of course) let paint dry in a brush or two or find that through use hairs may flare or even break off changing the shape of the brush. Many misshapen brushes are still keepers with a new purpose! Experiment and let the magic happen to see if you now have a new favorite stippler, scumbler or a new designated brush for scrubbing.
*The ferrule is the metal tube that holds the brush hair in place and attaches to the handle.
Ready to treat yourself to some new brushes? Shop our premium brushes now.
Comments
Leave a comment